The Sony α7R III (ILCE-7RM3) is a full-frame mirror-less camera released last year as the successor to the Sony α7R II. For professionals and content creators like us who do not necessarily need the performance that Sony’s flagship α9 offers, the cost savings makes the A7R III a very attractive investment.
As content creators, we were really excited with the prospect of an affordable alternative to the Sony α9, and spent the last few weeks shooting hundreds of photos and hours upon hours of videos and in the process, appreciate its features and capabilities. Read on for our full review of the Sony A7R III.
Build quality
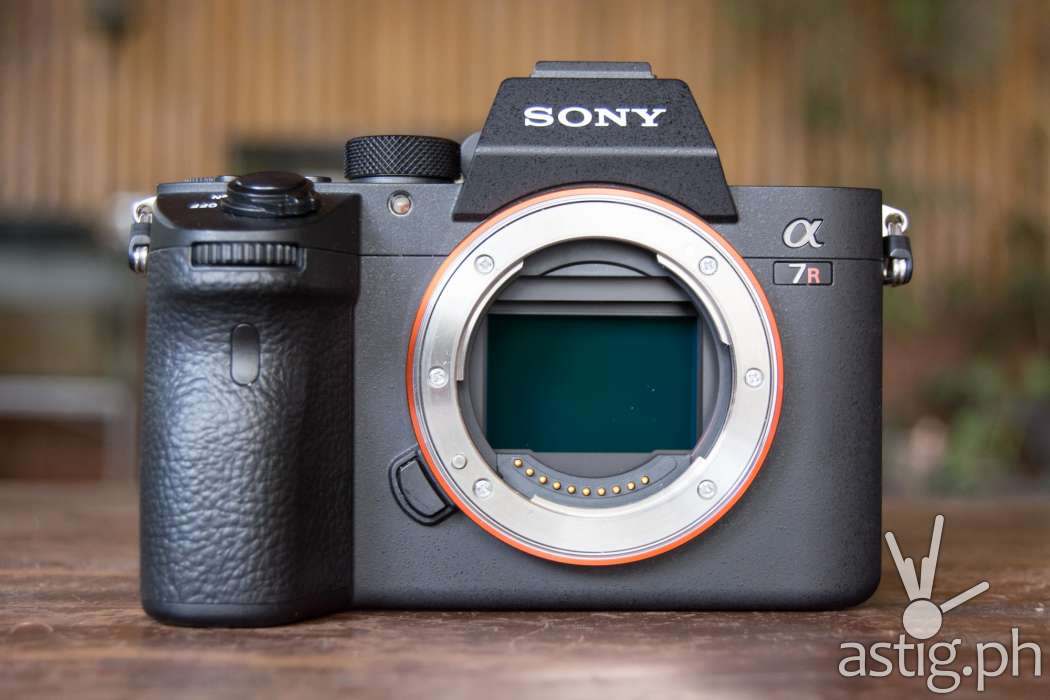
At 600 grams, the Sony A7RM III is extremely lightweight yet unsurprisingly sturdy. The magnesium alloy chassis feels rigid, as if all the internal components are packed in tightly. As content creators who are constantly on the go, we need a durable tool with us at all times. I move the camera around, and it can get rough at times, no matter how hard I try to “baby” this thing.
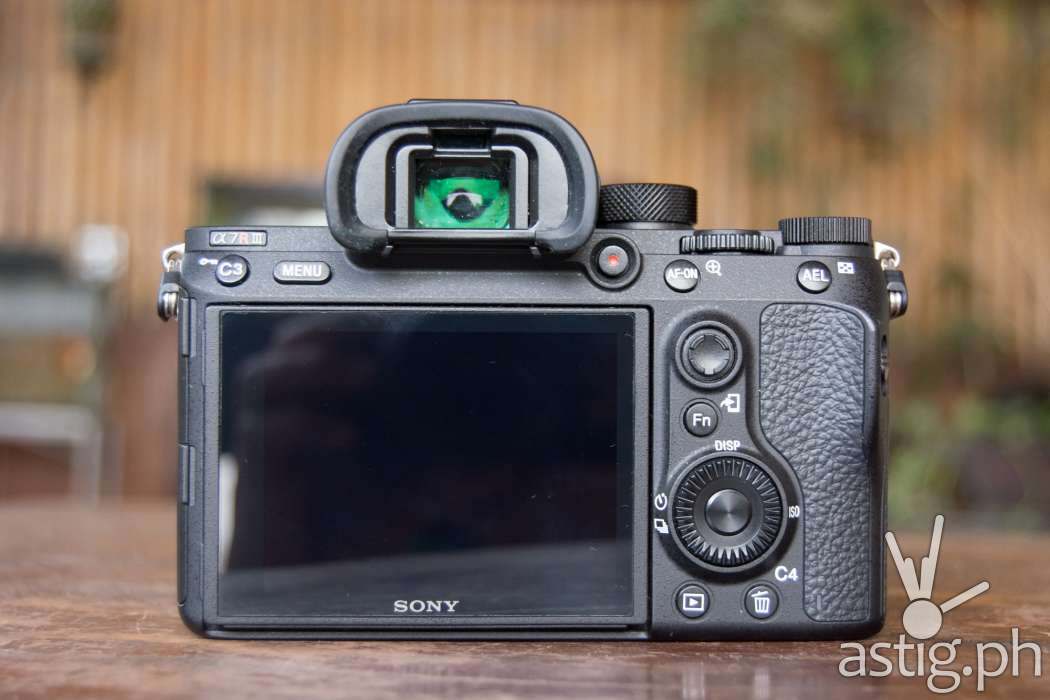
When not in use, I kept the A7R III stored either in my backpack or inside my luggage along with two other cameras. It still looks as smooth as it did the day I took it out of the box.
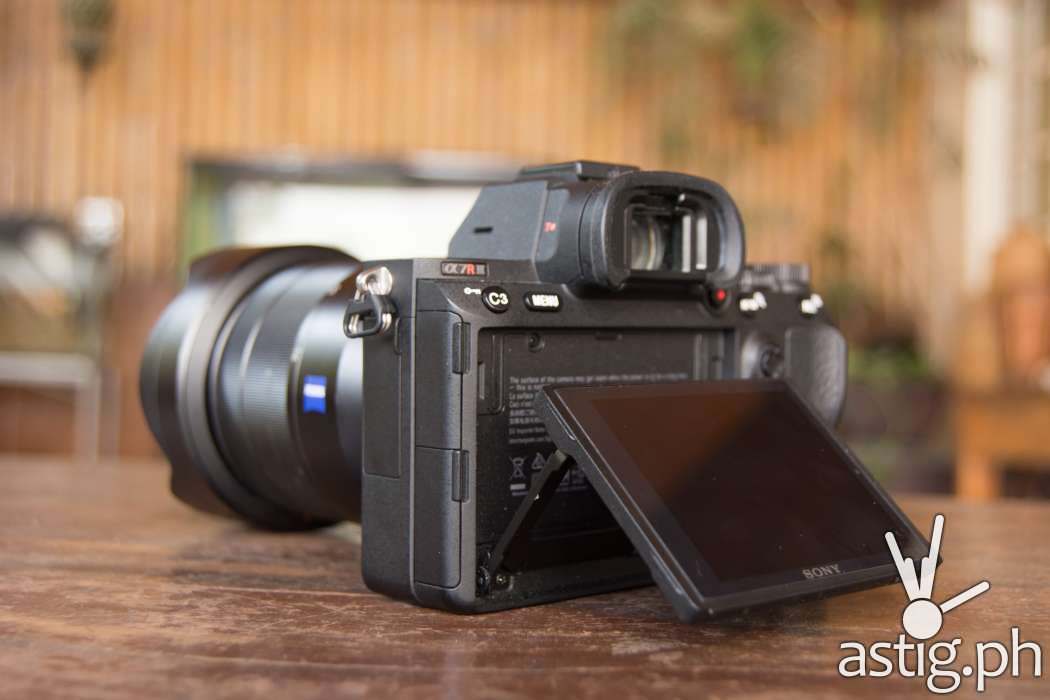
I am not sure the screen would last too long without getting scratches though. It only allows partial articulation so there’s no way to fold the screen into the body. You may want to install a protector as soon as you get your unit to protect the display from nicks and scratches and nicks when coming into contact with keys, coins, and sand.
The Sony A7R III lacks an on-camera flash, which is not a surprise – high-end DSLRs and mirror-less cameras don’t normally come with built-in flash. I have a theory for this that this is tied directly to durability: less moving parts, lower possibility of breaking.
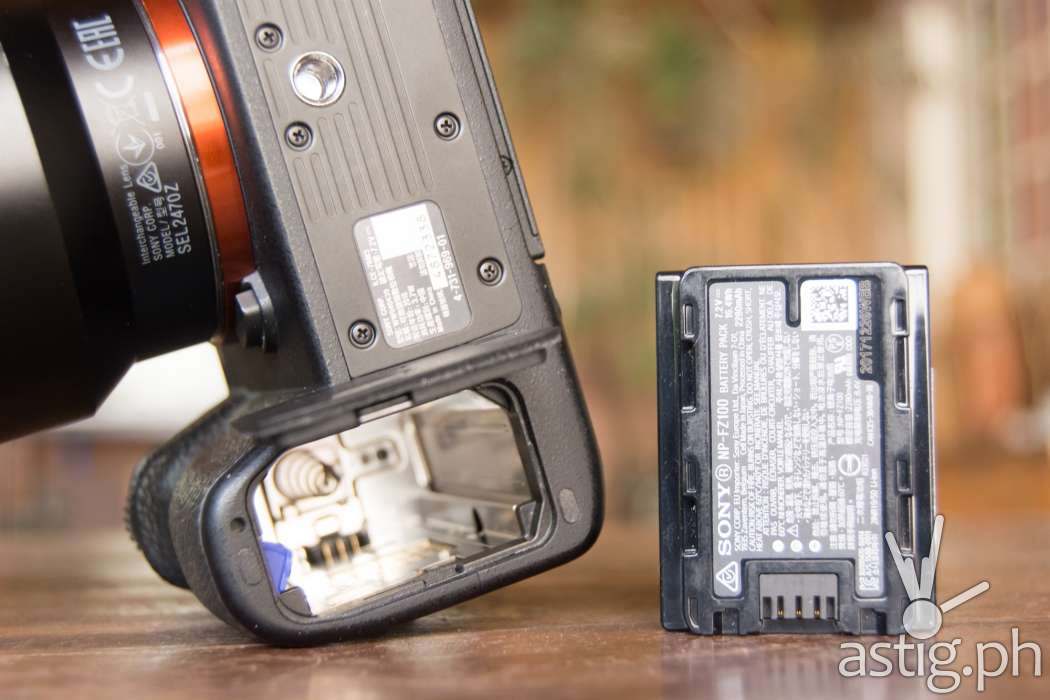
It’s also supposed to be weather-sealed, but this camera has a notoriously weak battery chamber. In the weather sealing test conducted by Imaging Resource on YouTube, we can see that the area is prone to leakage. The test is a little extreme though, so unless you plan to shoot in the rain without any protection, this is something you may want to keep this in mind when considering this camera.
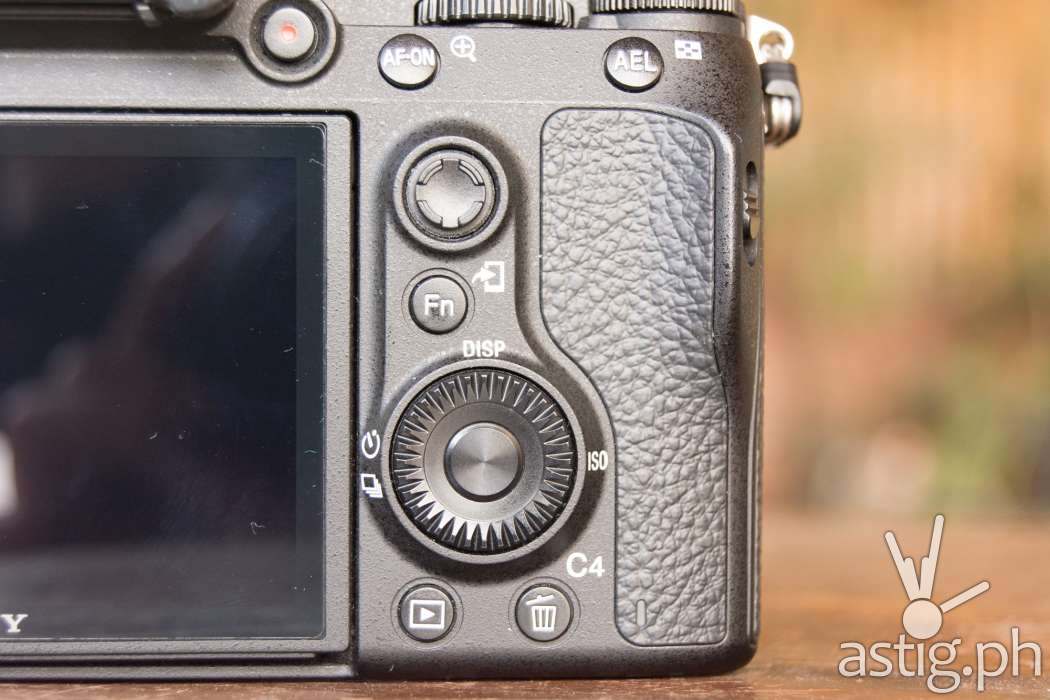
The camera’s buttons and dials feel strong enough to last wear and tear of at least five years of everyday usage. We hope that the labels would last that long, but the materials are definitely high grade and built to last. The camera grip is padded by a leather-like material. It feels like real leather for all we know – we are no experts in leather craft, but it feels damn good. An LED indicator near the bottom lights up at the button to act as a visual signal when the camera is busy.
There are four customizable buttons which you can map to almost anything you can think of, though by default all the button mappings are fairly intuitive.
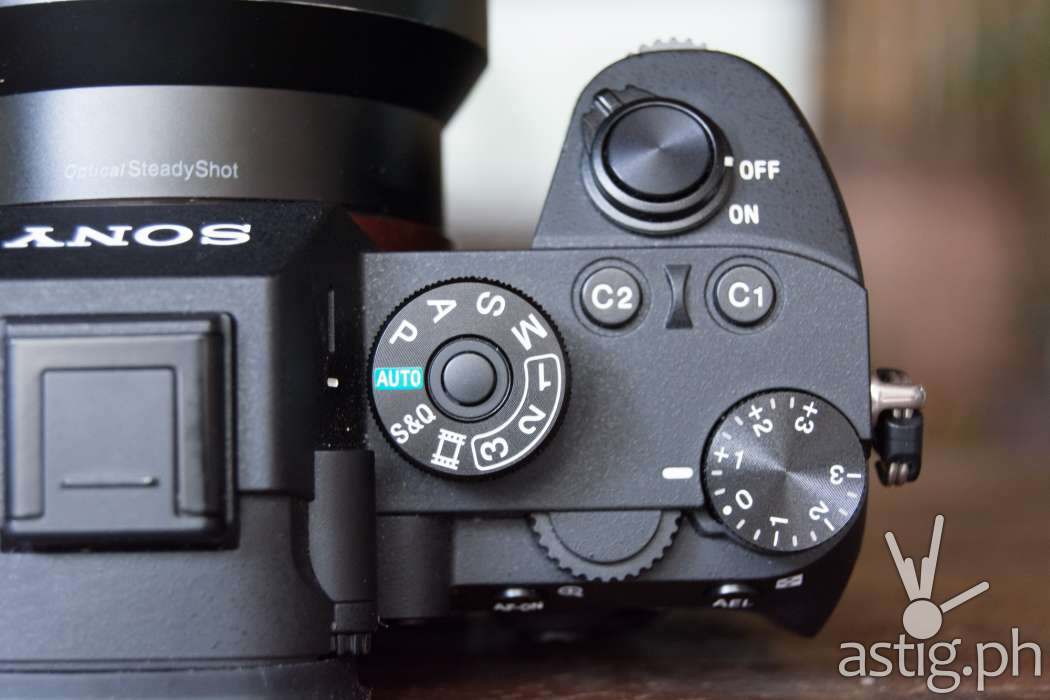
There are also three user-definable shooting “presets” in addition to the standard Auto, Manual, Shutter-priority, and Aperture-priority modes. These presets can be deined in the menu and comes very handy if you want to, say, quickly switch between shooting in a studio to shooting outdoors.
A dedicated video mode is also present, as well as a dedicated mode for shooting slow-motion and time-laps videos called S&Q which stands for “slow and quick”.
This is the kind of customize-ability and flexibility that you would not find in lower-end cameras, and it is something that only professionals can maximize and appreciate.
At 600 grams without a camera grip, the A7R III feels balanced, and the weight is easily offset by the 24-70mm Zeiss lens that we were using. It’s not the lightest mirror-less camera around, but it’s still very portable and lightweight compared to a full-frame DSLR camera.
In fact, you’ll feel right at home if you are coming from a DSLR.
Touch-screen display
In addition to having an LED viewfinder, the Sony A7R III has vivid, bright tilting LCD screen which functions as its main display panel. We do not have have a way to measure color accuracy, but for the price and its target market, we expect the A7 series to be well calibrated. That said, the display panel could really be brighter. It becomes useless when shooting under direct sunlight, so you’re going to have to rely on the viewfinder.
Can you rotate the screen on the Sony A7R III?
You can partially flip the screen up to around 90 degrees upwards or downwards. This lets tilt the display away from the sunlight, take better overhead shots, waist-level shots, or flat lays. Vloggers would want a fully articulating screen that rotates all the way to the front, so this camera is clearly aimed at a different market.
Thankfully, you can link the Sony A7R III to your phone using the official app and use it as a remote viewfinder, if you really need one.
More importantly, the display supports touch input, but for some reason, it only works as a focusing and zooming tool. You can’t really navigate the menus by touching the LCD screen.
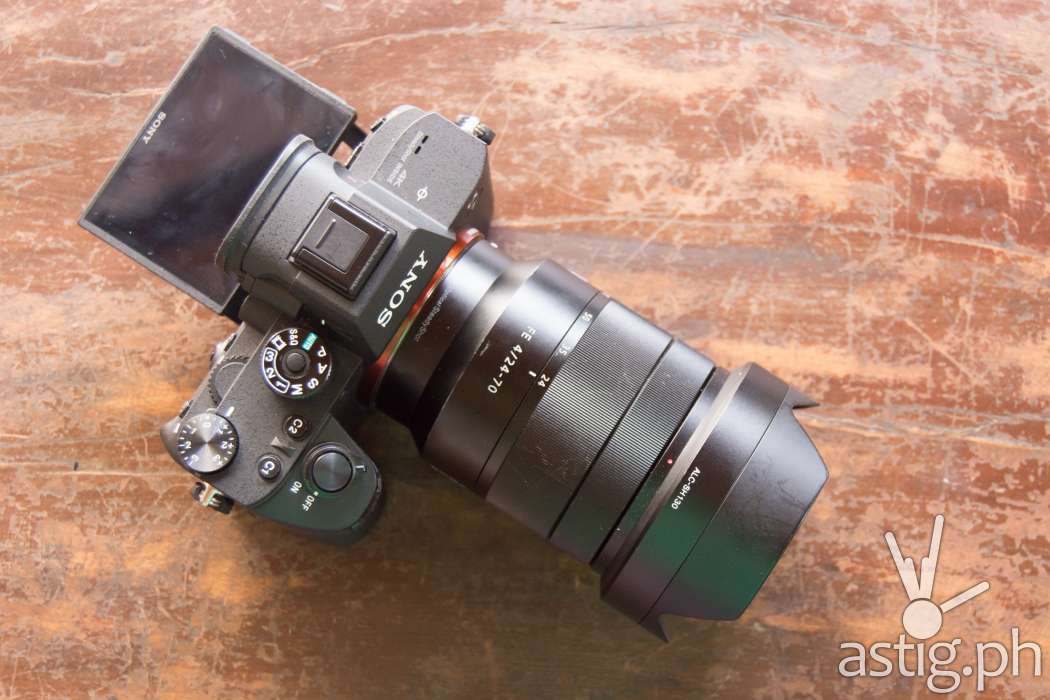
You would think that with a touch screen you could operate the menus like you do on a smartphone, but no, it doesn’t work that way. Perhaps we’re getting there, so here’s to hoping we’ll see better touch screen support a future update? We would love to see future cameras maximize the touch screen capabilities on their displays like you do on a smartphone.
I/O and other features
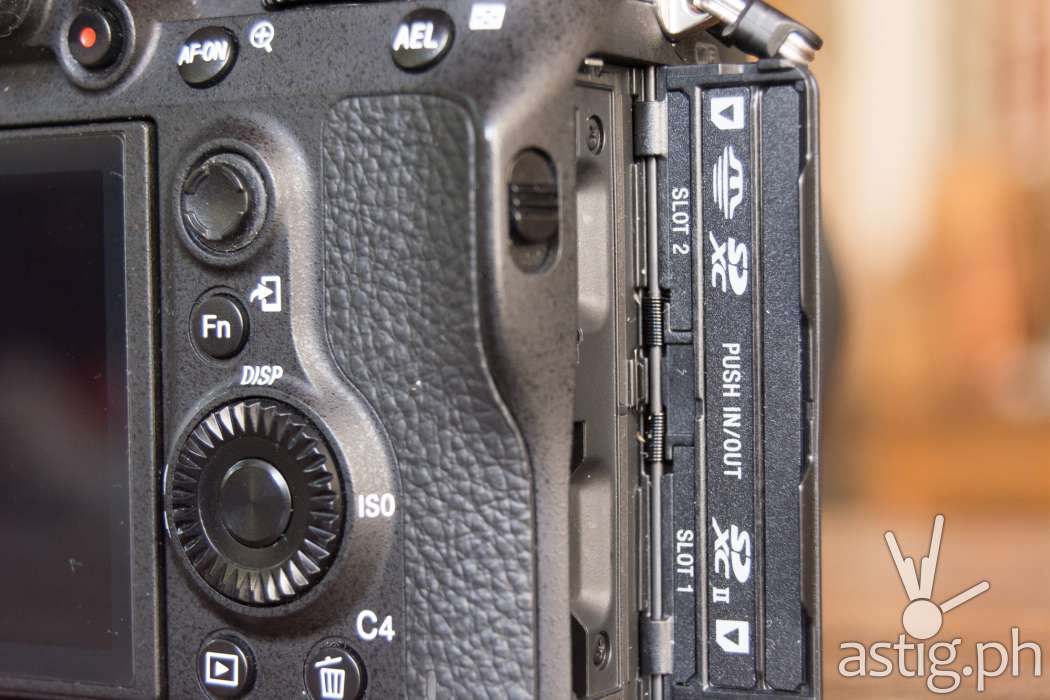
One of the improvements that Sony made going to the Mark III is the addition of a second SD card slot. For professionals, this is a huge plus not only for the additional storage capability, but it also allows you to do things like saving RAW files on one slot and JPEG files on the other, or creating a backup in case things go wrong. The first slot is UHS-II compliant, a necessity for high frame rate cording capability of the Sony A7R III, which supports up to 120fps.
Can you connect an external microphone to the Sony A7R III?
As content creators, this camera contains all the necessary I/O connectors, particularly having a separate 3.5mm audio in and 3.5mm audio out capable of outputting a live monitor of the audio feed.
This is particularly important to filmmakers and content creators (aka YouTubers) like us, because it allows us to get real-time feedback on the audio feed. This allows us to:
- Quickly perform sound checks without having to do a test recording and listening to the playback
- Make real-time, live adjustments that cuts down on our post-processing time (shoot-to-edit)
- Prevents the pain of having to re-shoot due to audio issues (i.e. noise or broken feed)
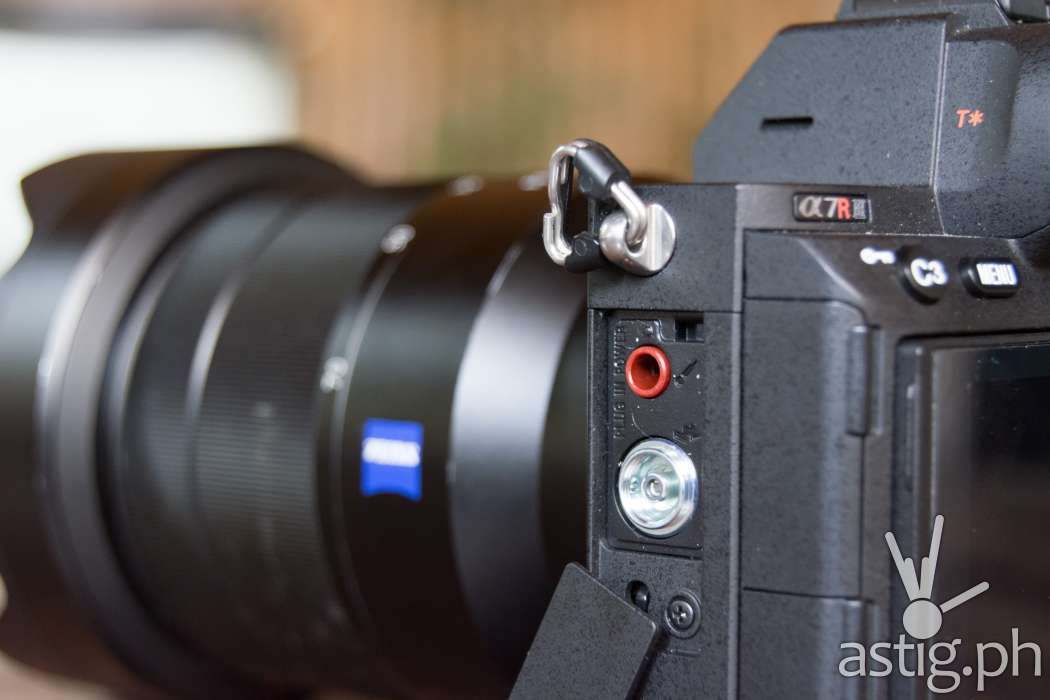
We’ve shot several videos for our YouTube channel by simply connecting our external microphone directly to the 3.5mm audio in port, and a headset onto the 3.5mm audio out port so we can listen to the audio feed simultaneously while shooting the video.
Of course, you can always monitor the audio with an external pre-amp (amplifier), but that’s just one more battery-operated gadget that you have to carry around.
The camera also has a micro HDMI port that can output clean, uncompressed video feed. For content creators like us, this means that we can stream live videos using the Sony A7R III. You are going to need a special cable to connect your mirror-less / DSLR camera to your PC and use the live video feed as you would a webcam, but imagine the image quality – if you’ve ever tried to stream using a webcam, you know what we’re talking about – the improvement in image quality would really up your game.
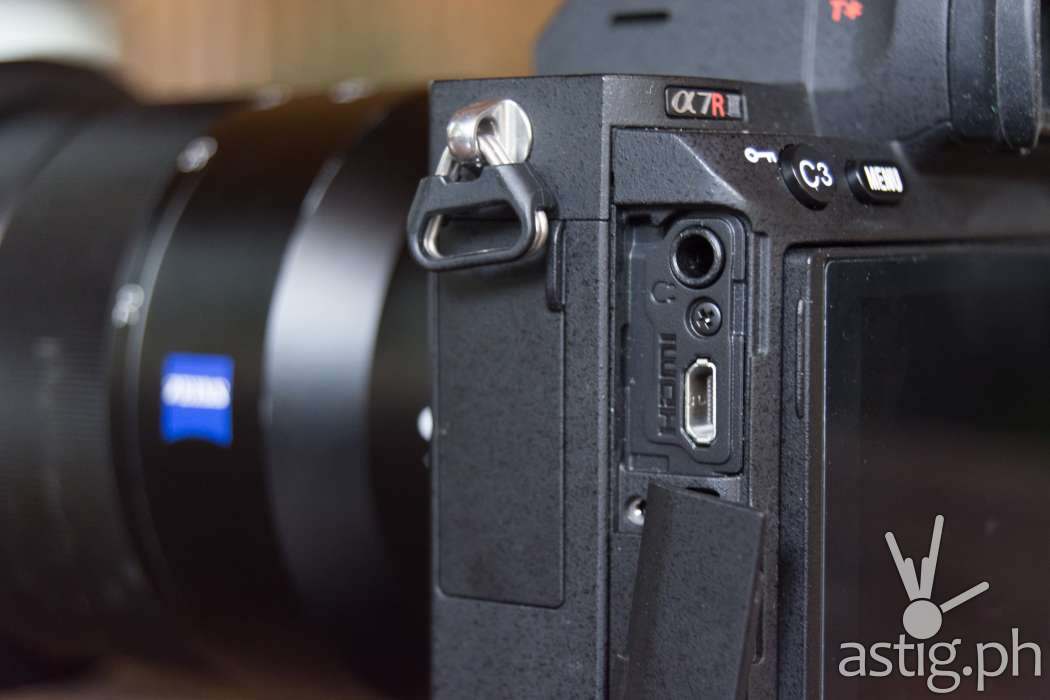
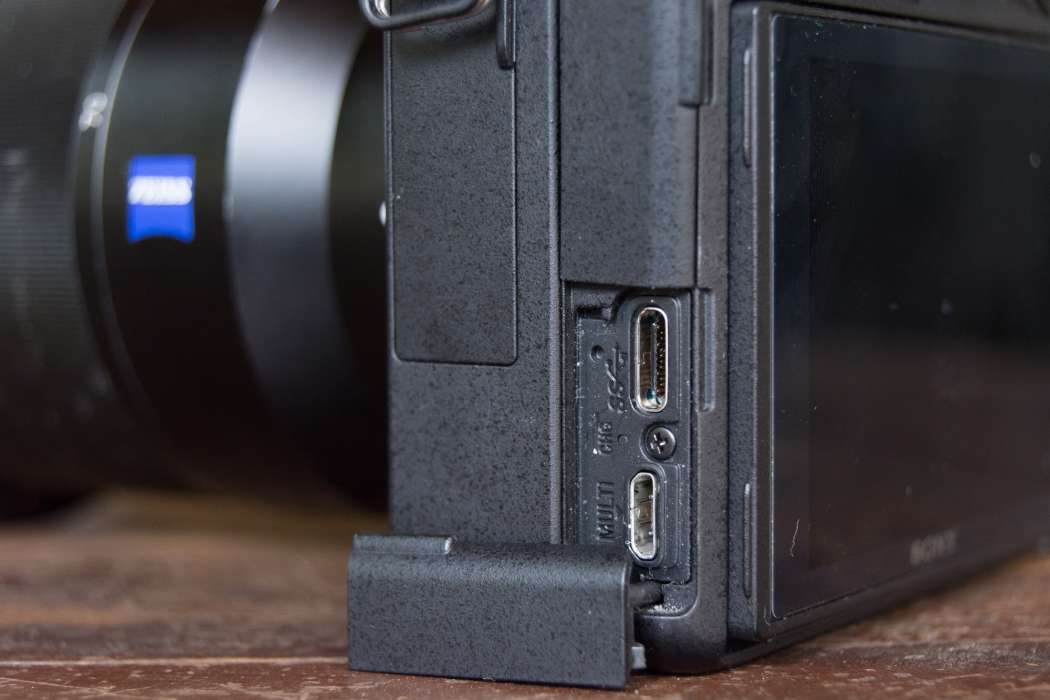
It also has a USB Type-C port right above a Sony Multiport (multi-terminal port), and for a moment we hoped that it could also be used to capture a live video feed but alas, the technology isn’t there yet. The port can be used for two thing: transferring files and charging, which is still good. File transfer speed over USB Type-C is fast enough that we no longer need to go through the process of removing the memory card(s) and inserting it to a card reader connected to the PC.
Also, since the USB Type-C port also functions as power delivery, you can charge the battery just by plugging it. It took us some time to wrap ourselves around this idea: we were too used to the old process of removing the battery and charging it via a wall charger.
In the past, smartphones also had removable batteries that you could charge and replace the same way. Today, almost every single smartphone comes with a built-in battery, so perhaps future cameras would also be the same?
We sure hope not, but if anything we learned to appreciate not having to carry around a wall charger and – just like with the storage cards – not have to go through the process of removing the battery just to charge it.
It’s a very liberating experience, and worth appreciating if you’re like us who often travel or cover events on-the-go. Most likely you’re going to carry a USB charger with you on your travels to charge your smartphone. Even if you forget to bring one, everyone has a phone so there’s a big chance someone else has one, so you can easily charge your camera as long as you have a USB Type-C cable with you.
Battery life
Not that you’ll be charging a lot, mind you – the Sony A7R III lasts a very long time on a single charge – it is rated at 500 shots, and although we never had the chance to validate this claim, we feel it is just about correct. This is plenty if you’re covering events.
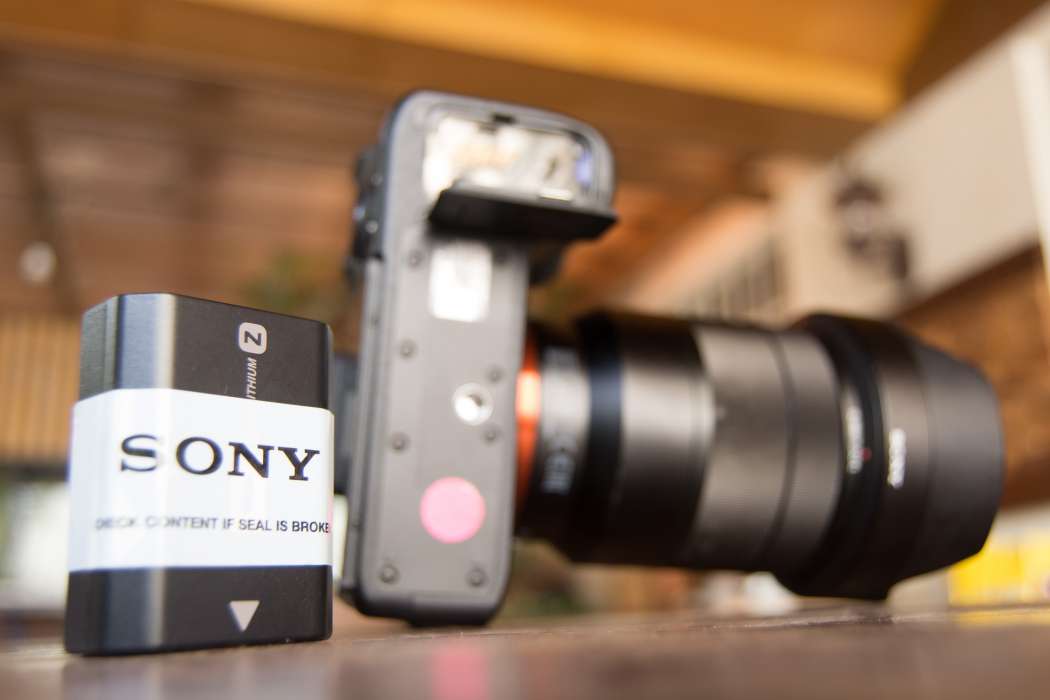
Charging the camera via USB Type-C port takes about 2-3 hours. Usually we just leave it connected before going to sleep or plugged in the office while doing other things and it’ll be at 100% by the end of the day.
I don’t use burst mode, and I pick my shots and so far, I am able to cover whole-day events with about 4-8% battery life to spare when I get home. I shoot a mixture of RAW + JPEG stills and videos mostly at 120fps. I use the LCD screen most of the time, and transfer 10-20 files over WiFi using the mobile application.
Network connectivity and mobile integration
This brings us another key feature for content creators and online influencers: mobile integration. This feature is crucial to maximizing the investment made on an IC (interchangeable lens) camera, be it a DSLR or a mirror=less one like the Sony A7R III. The ability to post content online as it happens is critical to our work, and mobile integration brings us closer to that.
We connected the camera to our smartphone using the official Android app “Remote app: PlayMemories Mobile” (aka Imaging Edge) via Wi-Fi. Connection was easy, just select the file you want to transfer, press the Fn button, and scan the QR code using the mobile app.
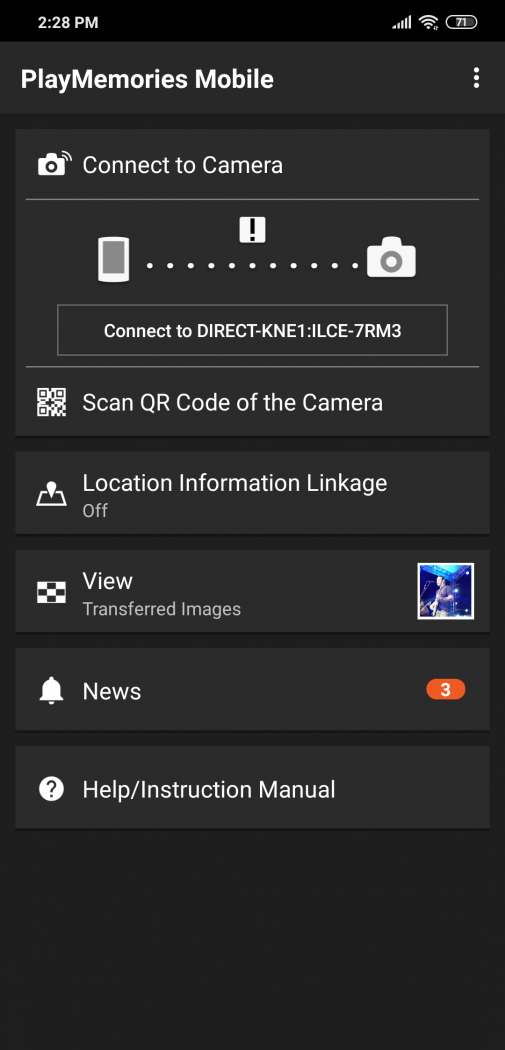
For the more technical readers our there, note that the A7R III only supports the 802.11 b/g/n WiFi standard, meaning your connection will be limited to the 2.4GHz band, which is slower than the 5GHz band. It should not be an issue when transferring image files, but videos could take a while.
As explained elsewhere in this feature, you can use the mobile app as a remote view finder to get a live view display of what your camera sees. You can also use it to control the camera and take photos and videos, although the functions are a little limited compared to what you can do with the physical buttons.
Autofocus and tracking
The Sony A7R III captures 42 Megapixel still images at up to 10 fps with AF / AE tracking. You get 399 focus points, which is a little over half of the A9’s 693 focus points, but it was more than sufficient for us. With a few exceptions, almost all our shots were tack-sharp.
Like magic, the in-camera auto-focus is not just fast, it can track the subject really well, regardless of focal length. As a result, we are able to take the shots that we wanted while keeping the amount of wasted shots at a minimum. We noticed that it does struggle in extreme lighting conditions, i.e. if we over-expose or under-expose the shot by force so that it’s mostly white or black with little to not detail.

We could be wrong, though – we have not tested this in-depth, so perhaps you have a different experience that you can share in the comments section?
Sony’s implementation of Eye AF (autofocus) is the best we’ve experienced so far. Nothing from Fujifilm, Nikon, or Canon comes close when it comes to speed, accuracy, and tracking. We used it in all kinds of situations – daylight, indoors, night time, and it works most of the time. Of course there are times when it fails to find a proper lock, like if the subject is way too small, or if the subject is looking down, which is understandable because how else the computer figure out where the eyes are?
For example, in the shot below we were unable to get a decent lock on the singer because his eyes were hidden. Instead, Sony’s Eye AF kept locking on the bassist’s eyes.
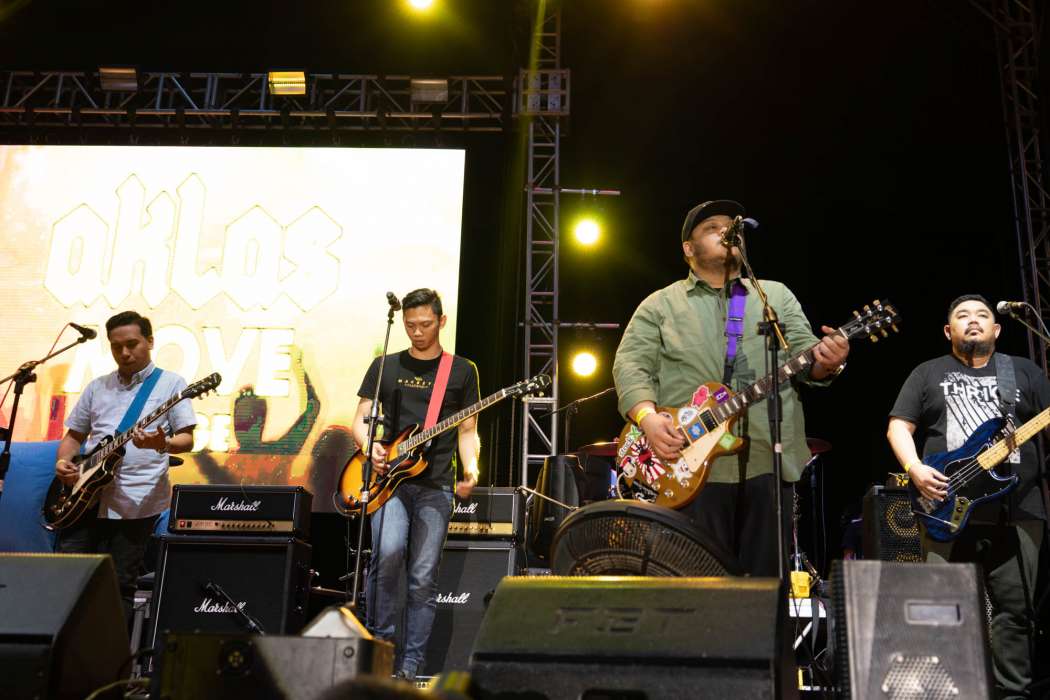
Mayonnaise band playing “Jopay” at Rakrakan 2019 (shot on a Sony A7R III)Still, it is very impressive for what it is able to do, which is properly detect and hone in on a subject’s eyes in a split-second, allowing us to capture the moments that matter.
Not only that, it works for both stills and videos! Wait, what did you say again? You heard us right: Not only do you have the standard focus tracking, you can also track a subject’s eyes or face! We’re in autofocus heaven, guys.
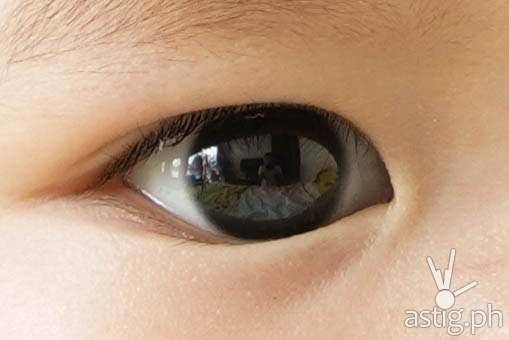
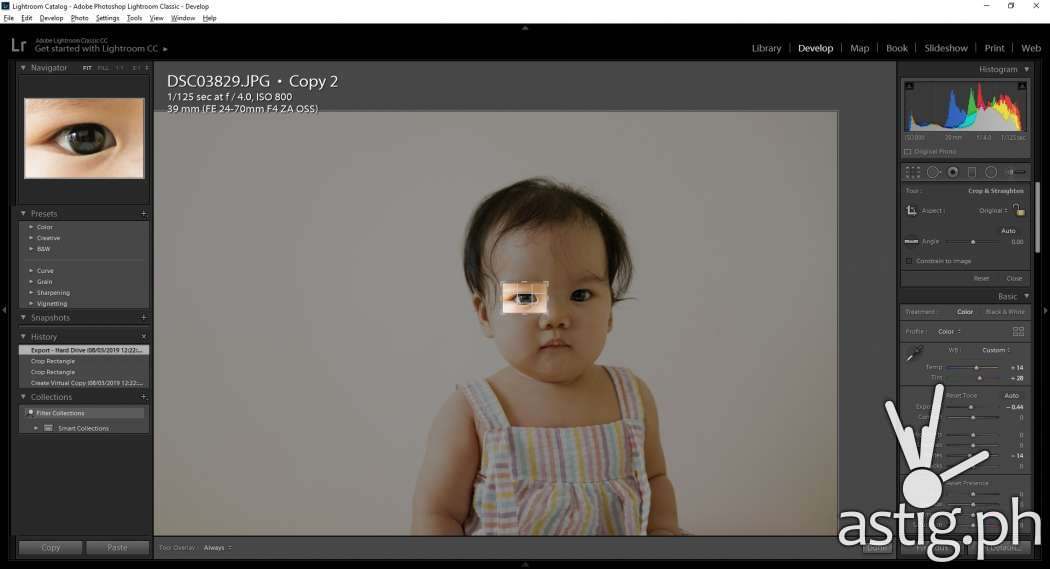
The photos are so sharp that I could see my own reflection in my subject’s eyes, even from a very tight crop like this photo below:
For reference, here is the original (un-cropped) photo:
Speaking of which, we like how Sony’s Eye AF does not rely on Face AF. So you can just press one button and it will automatically focus on the eyes, or press another button to automatically focus on a face. In other implementations that we’ve seen, Eye AF is tied to Face AF, which can get confusing if there are multiple faces in the scene that you are trying to capture.
Not that Sony’s Eye AF is perfect – it still gets confused at times, but we get usable shots around 8-9 times out of 10. It also doesn’t work when taking videos unfortunately, so we had to limited ourselves with traditional point and face tracking.
As mentioned earlier in this review, you can use the touch screen to set the focus point which I found to be a lot faster than using the viewfinder and manually moving the cursor using the directional pad … or focus “joystick”, whatever you wish to call it. It is an absolute joy to use when you’re taking videos.
The below video of Juan Karlos singing “Buwan” was taken mostly with Eye AF and Face AF:
We imagine this kind of auto focus performance would make sports and wedding photographers very happy. It most certainly is the dream for us vloggers and content creators.
I felt so spoiled the A7R’s performance that using our regular cameras felt like going back in time. We thought we had good cameras, but we never realized how slow and how bad they were at focusing until we used the Sony A7R III.
It really raised the benchmark for us when it comes to focusing speed.
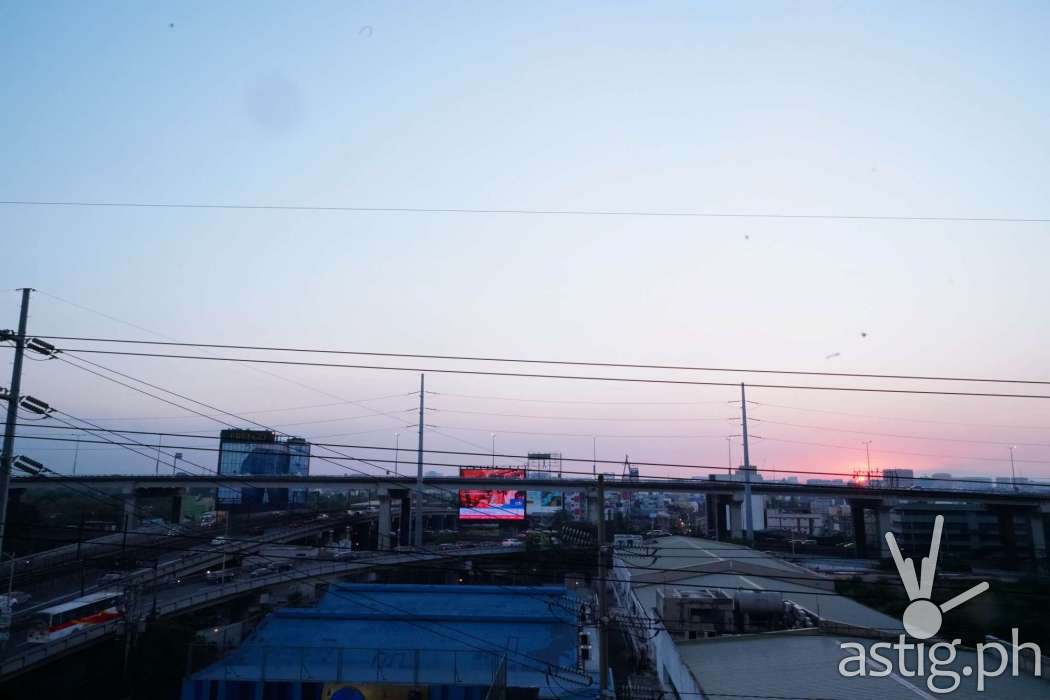
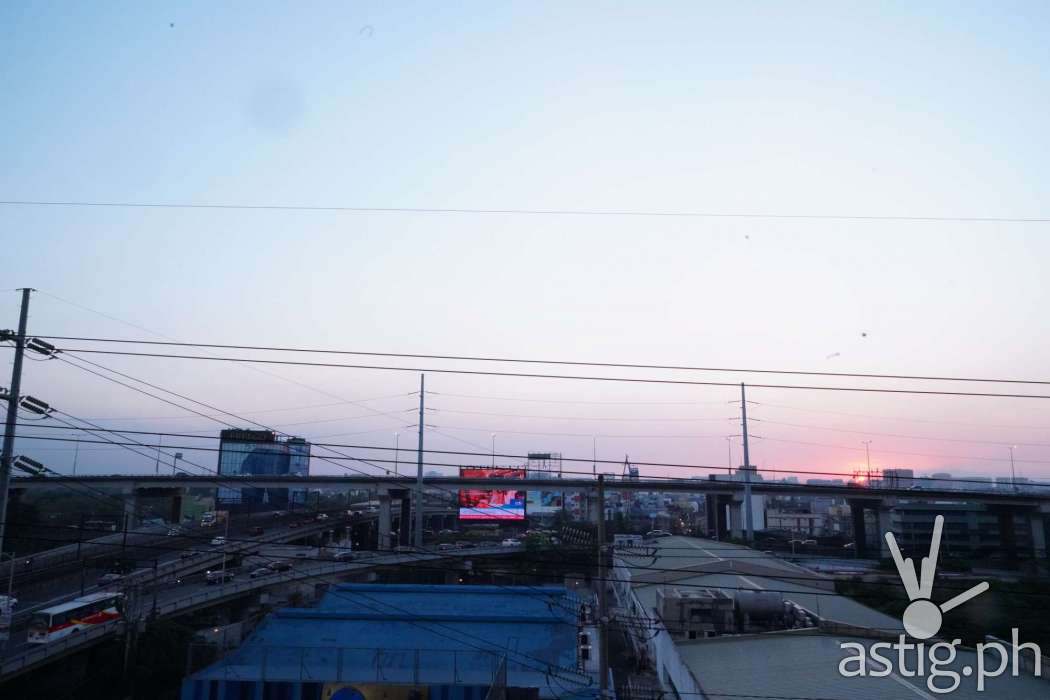
Low light performance and HDR
The camera is capable of shooting native ISO from 100 all the way to a whopping 32000 native “usable” ISO. It is expandable to ISO 50-102400, which to us means that the shot is being digitally bumped up by the image processor in addition to native signal boost which is done electrically.
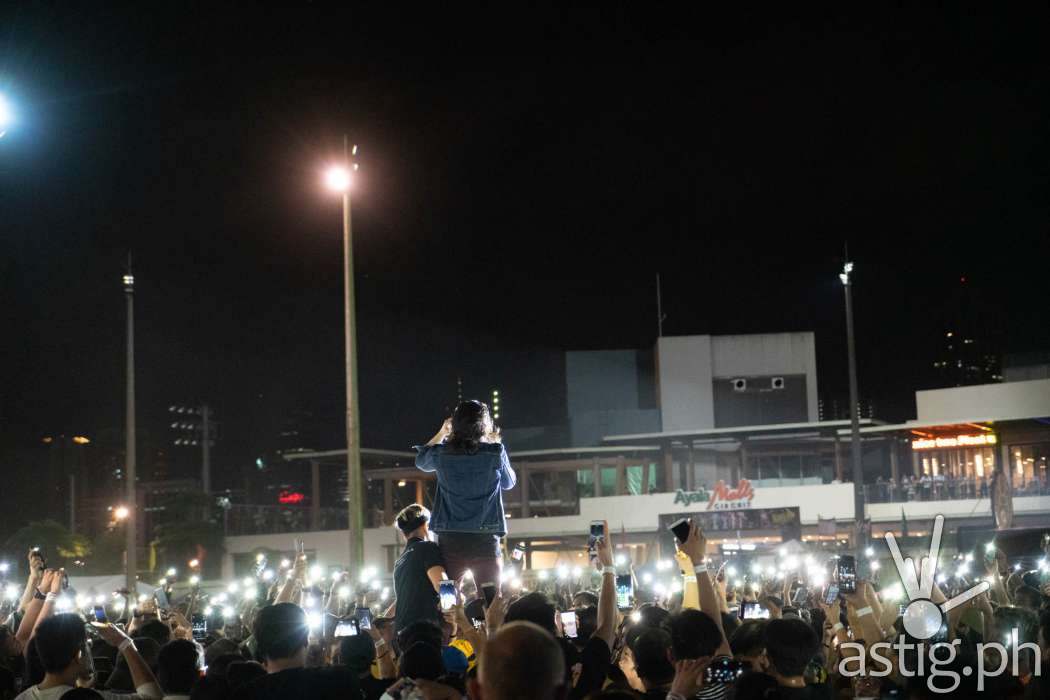
The photo below of Yael performing at Rakrakan 2019 was taken at ISO 12800, compressed for web viewing.
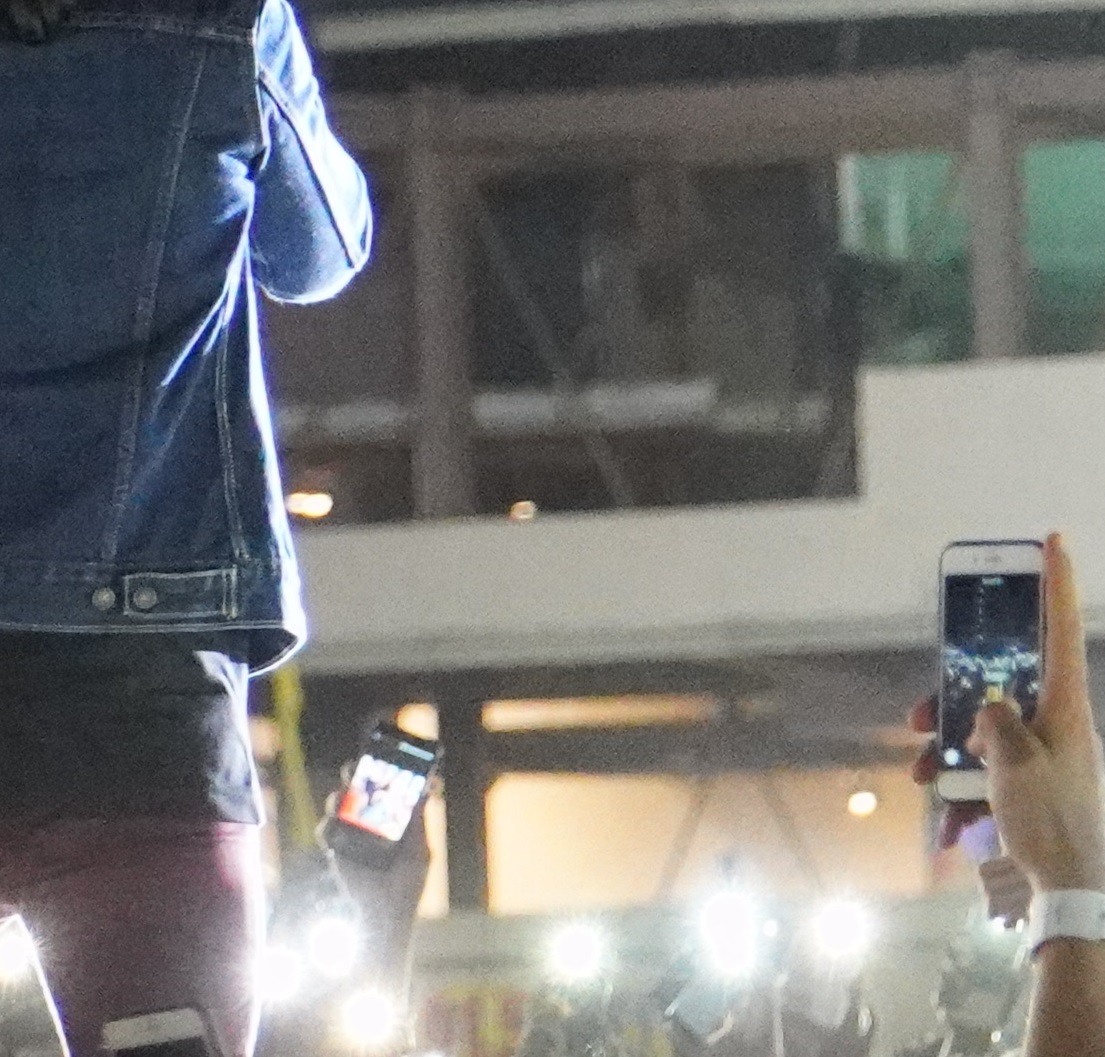
Below is a portion of the photo at 100% crop showing a visible amount of noise as well as chromatic aberration. The chromatic (color) disparity in the noisy area is not that high, and can easily be reduced with some smoothing tools in post while keeping the photo sharp.
Even without smoothing, the photo actually looks good and the noise adds to the mood with its grain-like effect akin to shots taken back in the analog film days.
To my eye, noise does not even begin to be obvious until ISO 12800, and even then we still get usable images because the image is just so large. Higher than that, we start to notice an increasing amount of color noise, so the number of usable shots start to decrease the higher we go. I can’t imagine sports photographers using this camera in low light, but that’s a what the Sony A9 is for.
Thing is, we have a lot of breathing room when shooting at 42MP, especially if you shoot RAW, down-sample, and compress the images for web viewing. Shooting for large-format print is a different story though, but in our experience, we managed to get decent shots even without a flash in most situations. The only time I felt the need for a flash was when I wanted to take a photograph of Gloc-9 at around 9PM at the dark portion of the backstage area.
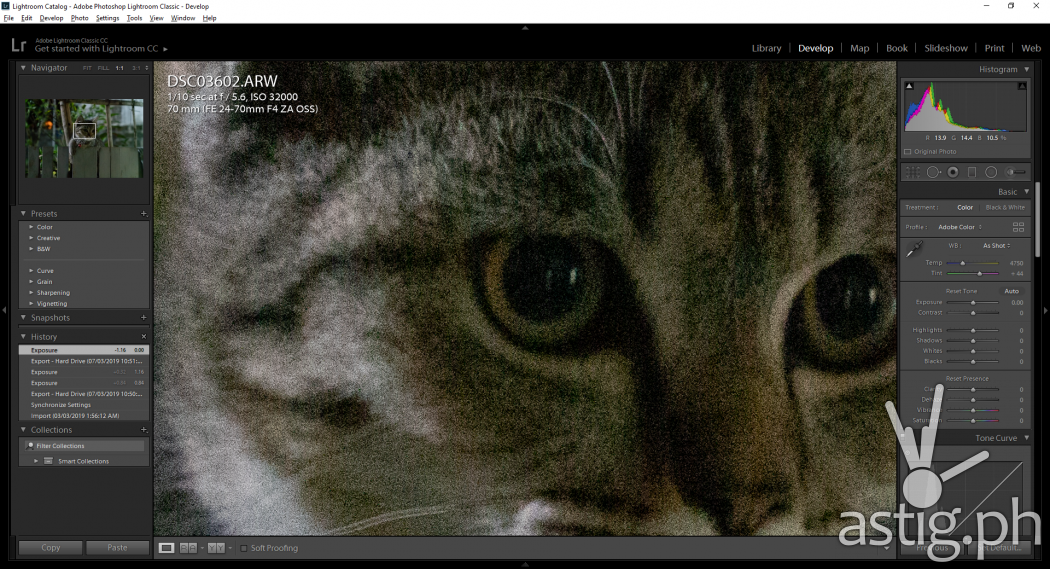
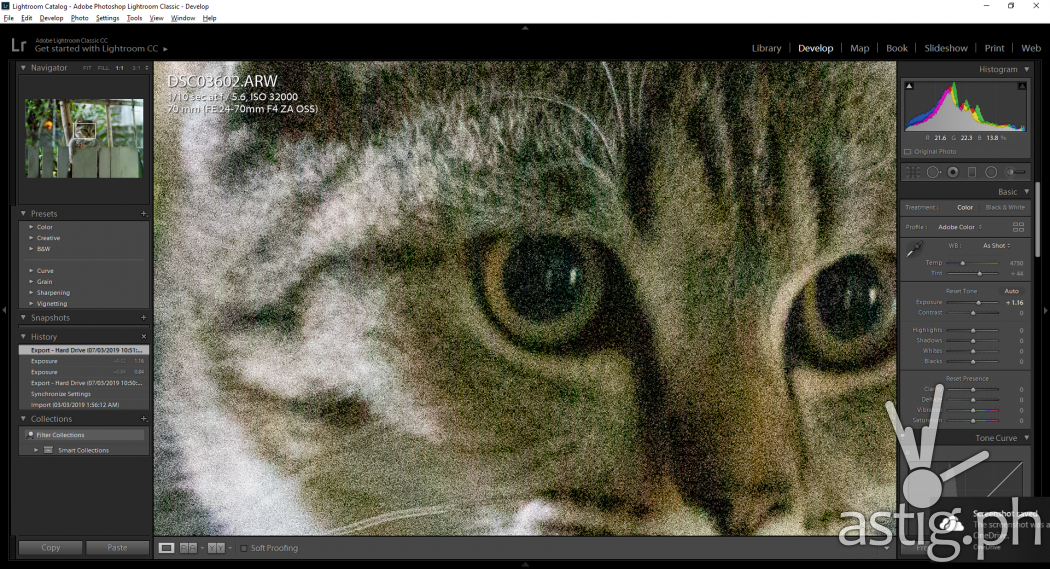

What if we manually adjust the photos beyond ISO 32000 in post?
The result varies, but for the most part the image is still usable up to 1-2 stops above EV 0. Beyond that, the color noise becomes too bad that you’ll need a lot of smoothing to make the image usable. Sony’s RAW format, ARW, provides us with lot of information to play with, so there is room for error.
In the example above, we shot a photo in ISO 32000 and bumped it up by +1.16 in post. The result is a decent amount of noise but still usable, especially when resized and compressed.
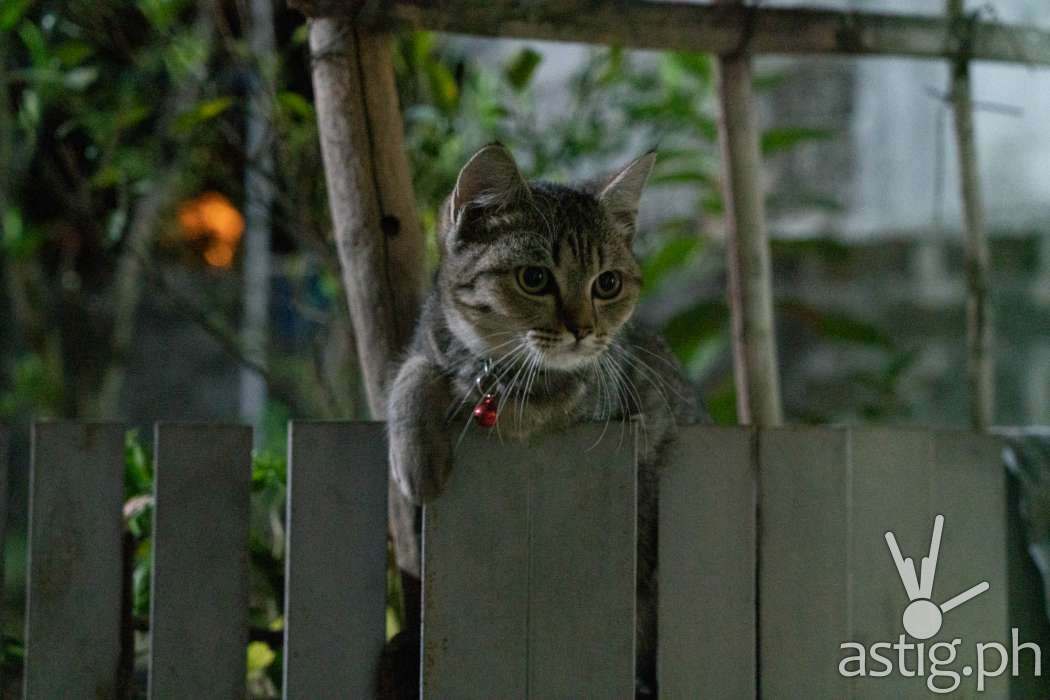
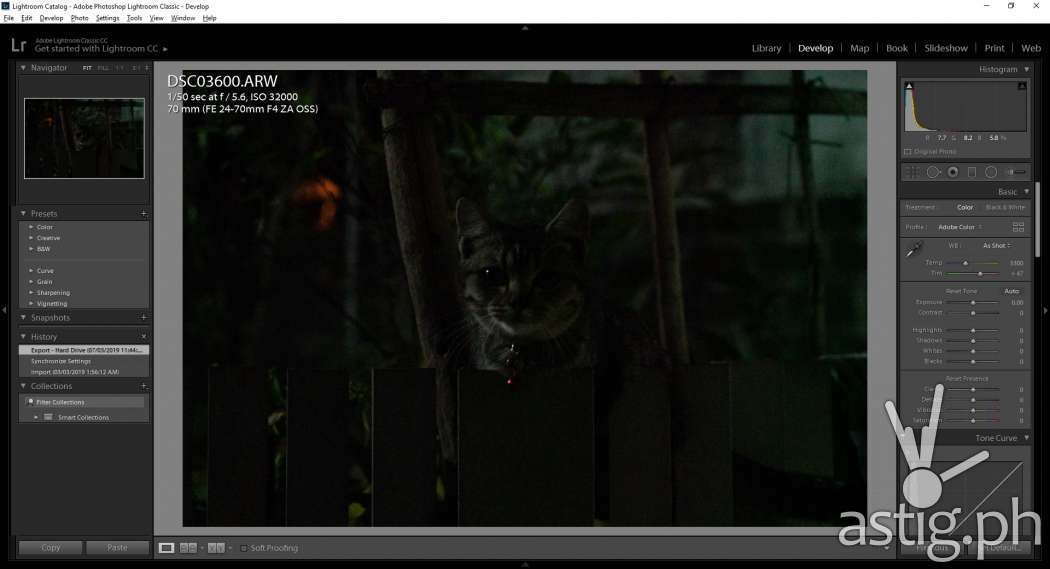
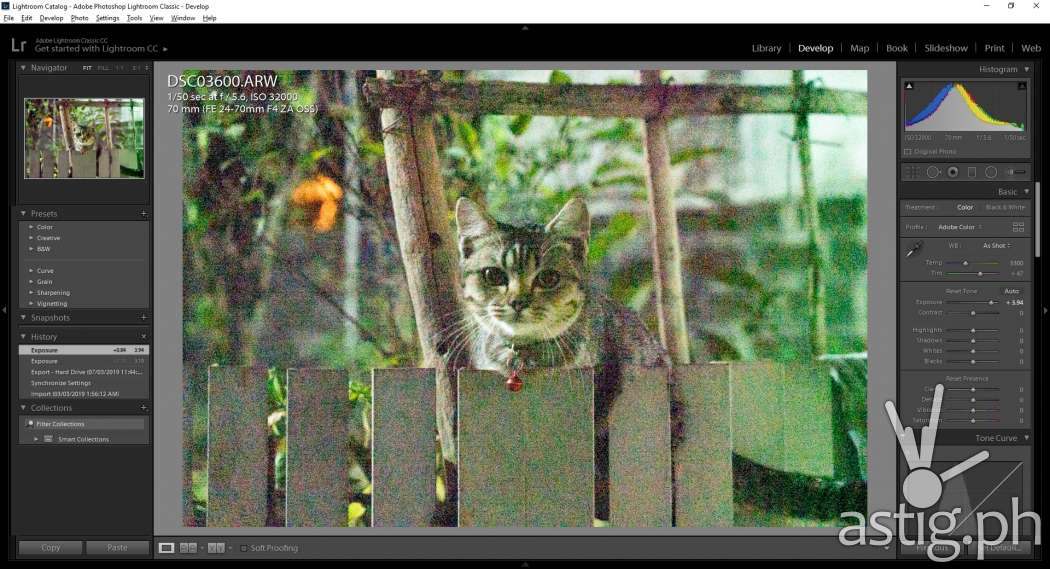
In the photo below, we were able to bump the original image by almost +3.94, or almost 4 full stops before the amount of color noise made it completely unusable.
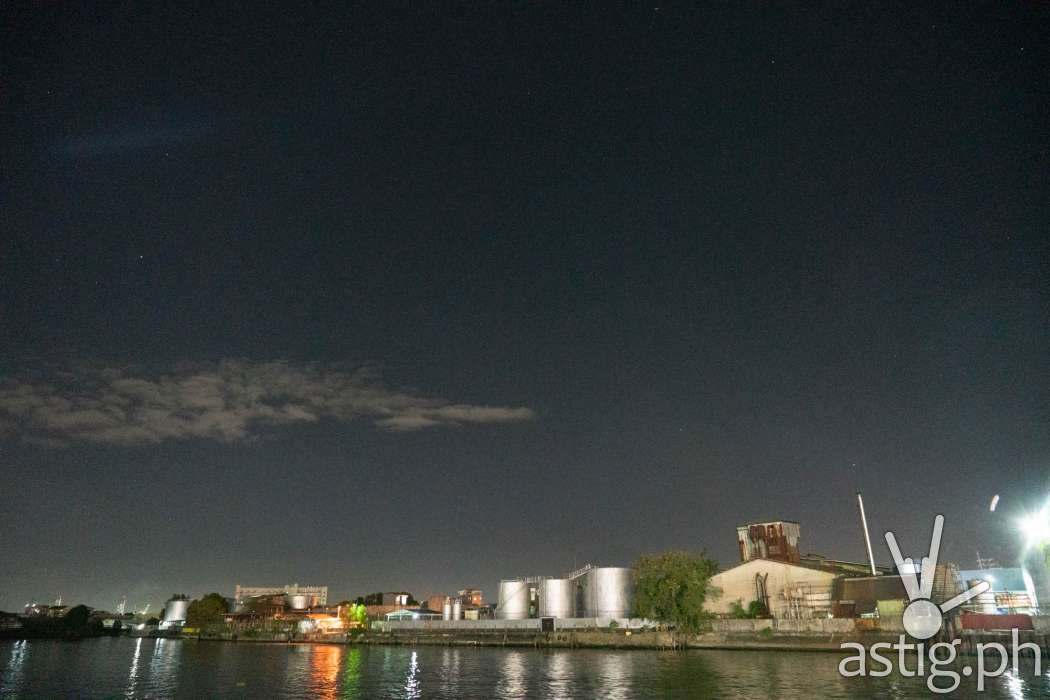
Long exposures can be fun to play with on a mirrorless camera. Since we don’t have to deal with camera shake, we can get very sharp images like the one below.
You can also shoot photos in HDR mode, which stacks several photos taken in varying exposures together in-camera resulting in better dynamic range. It seems that the camera saves a copy of the non-HDR image along with the resulting HDR image. We were unable to find a way to adjust the number exposures or the exposure values in HDR mode, though.


Lens compatibility
One of the advantages of getting into the Sony mirrorless system is that they have been around the longest compared to say, Nikon or Canon, that they have the widest selection of lenses of the three.
You might wonder why I didn’t mention Fujifilm. Despite having an impressive selection of lenses, Fujifilm only produces APS-C and medium-format cameras. Apparently, the company has no plans of making full frame mirrorless cameras anytime soon.
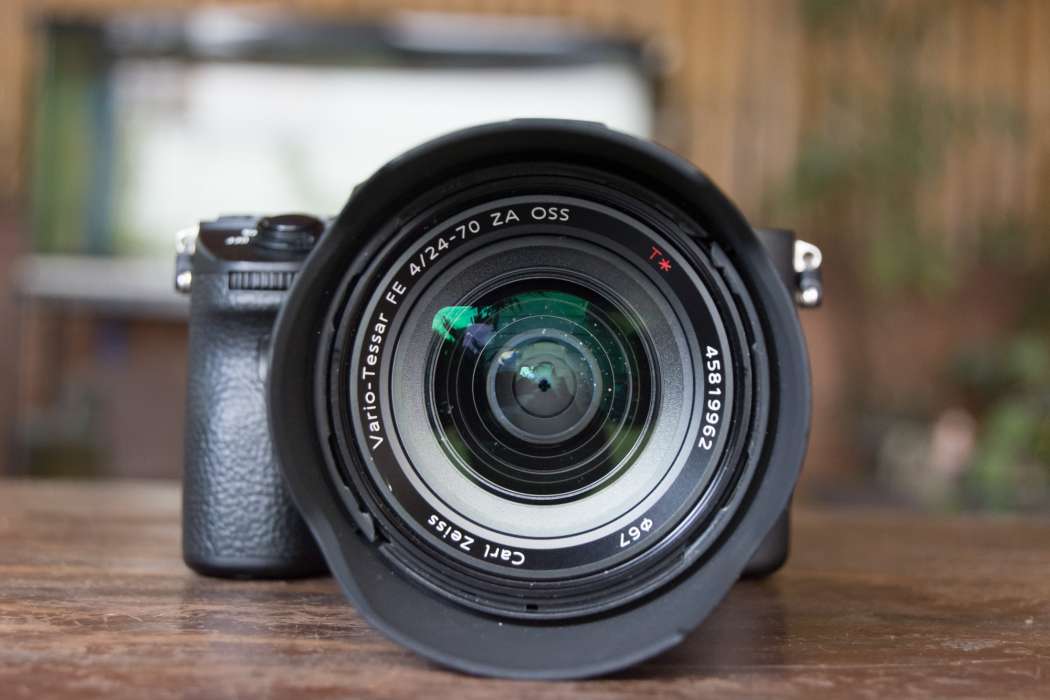
Sony is the king of full frame mirrorless lenses, for now.
Video performance
The Sony A7R Mark III records video in two video formats, XAVC-S and AVC HD in 1080p and 4K. Standard frame rates are 24p and 30p Higher frame rates such as 60p and 120p is only available in 1080p. At 120p you can choose between two bit rates 60Mbps and 100Mbps, with the second one requiring a high speed UHS-II SD card due to the insanely large amount of video data that needs to be recorded.
Can the Sony A7R III take slow motion videos and timelapses?
A dedicated shooting mode for capturing slow motion videos and time lapses called S&Q (Slow & Quick) is built into the camera. This is great as it allows us to jump between different regular shooting modes to capturing slow motion videos at the touch of a dial. S&Q takes videos from 4 fps all the way to 120 fps at 24, 30, or 60p.
This may seem redundant at first, since you can essentially take a regular 120p video and slow it down in post. However, we noticed that the bit rate of the S&Q video tops out at 12Mbps, which is a lot lower than the lowest bit rate for 120p, where there choices are limited to only 60Mbps and 100 Mbps.
This accomplishes two things:
- Maximize your storage space by having a smaller file
- Shoot slow motion videos straight out of the camera without the need for post
For content creators and online influencers like us, this is key because it allows us to post slow motion videos online instantly, and the storage space that you save from the lower bit rate can become handy when shooting events, which can last an entire day. We’ve dealt with a fair amount of slow motion videos to know that they compress very well, so if image quality was not a huge factor, then we’d rather “shoot-to-edit” in S&Q.
Which leads to the question: how does the image quality of the videos shot in S&Q compare to the standard video shooting modes? Surely, a 100Mbps video should be noticeably better than a 12Mbps video, right?
Apparently, the difference is barely noticeable. Jason Anthony explains S&Q vs regular video mode quite well in his video comparison on YouTube. We shot b-rolls for the Samsung Galaxy S10 Plus hands-on in S&Q mode at 120p, you can check it out at around 2:35 in the video below:
To push things further, the Sony A7R III comes with in-body 5-axis stabilization. There’s a video showing the mechanism somewhere on the Internet, but it’s actually very cool because apparently, this is built into the sensor.
It really cuts down on camera shake to the point that I was able to take decent videos hand-held. Of course a gimbal would have been better, but as someone who is always on-the-go I would gladly leave it behind when traveling if I really don’t need super smooth-looking videos.
Having both 5-axis stabilization and slow-motion is more than enough for b-rolls, as this allows us to really smooth things up!
To demonstrate this, we shot b-rolls for the Samsung Galaxy S10 Plus review video above and the Realme C1 review video below this way. Check how smooth the hand-held b-rolls are, especially when slowed down like at 10:40 in the video below.
Do you need an external microphone when shooting videos with the Sony A7R III?
The built-in stereo microphone of the Sony A7R III is one of the better built-in mics that we’ve heard among all the mirrorless cameras we’ve held thus far. It is able to capture a good amount of dynamic range and it is sensitive enough to pick up audio coming from almost any direction, which is okay if you need to shoot something in a rush and don’t have the luxury of using an external microphone, but not the best for interviews or vlogs, since it will pick up a lot of ambient noise.
Can the Sony A7R shoot videos in HDR?
You get several built-in picture profiles including LOG-2 (Picture Profile 7) and LOG-3 (Picture Profile 8), and as well as HDR (Picture Profile 10).
We read somewhere that the HDR profile actually works with HDR-enabled displays, however, we did not have one so we were unable to test this feature.
Even if you turn picture profiles off and use the standard settings, you can get better dynamic range by enabling DRO (Dynamic Range Optimizer). It may not be as dramatic as HDR, but it looks more natural which I find very appealing.
The video above of Mayonnaise performing the song “Jopay” was shot with Picture Profile OFF and DRO turned ON.
Does the Sony A7R support LOG mode?
Yes it does and by the way, we love the LOG profiles. It shoots an astounding amount of dynamic range and detail which gives us flexibility in post. It works for both photo and video, and it is capable of preserving a huge amount of detail and dynamic color information.
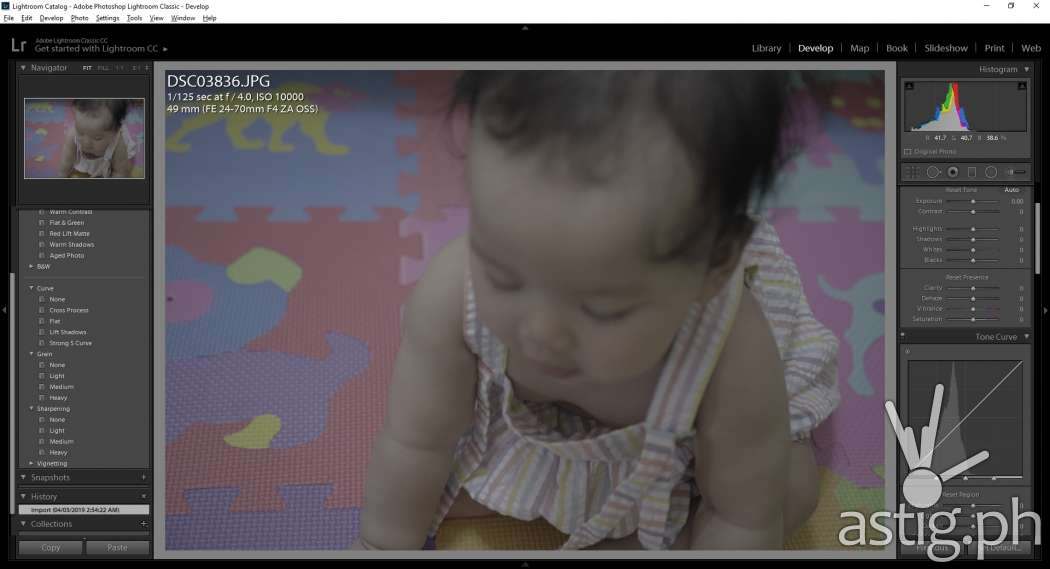
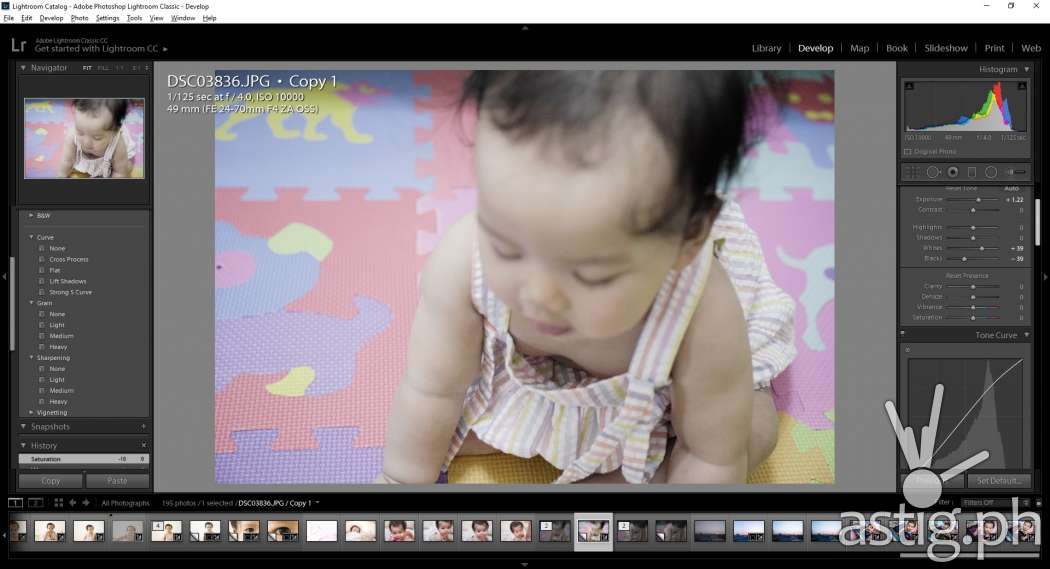
The photo above was initially shot in Picture Profile 8 (S-LOG 3). We then applied a slight curve and tweaked the blacks, whites, and exposure sliders. The result is a very detailed, natural-looking image and we did not even touch the saturation or vibrance sliders yet.
The above video was shot in Picture Profile 7 (S-LOG 2). I then applied some color grading in post, resulting in the video below.
Conclusion
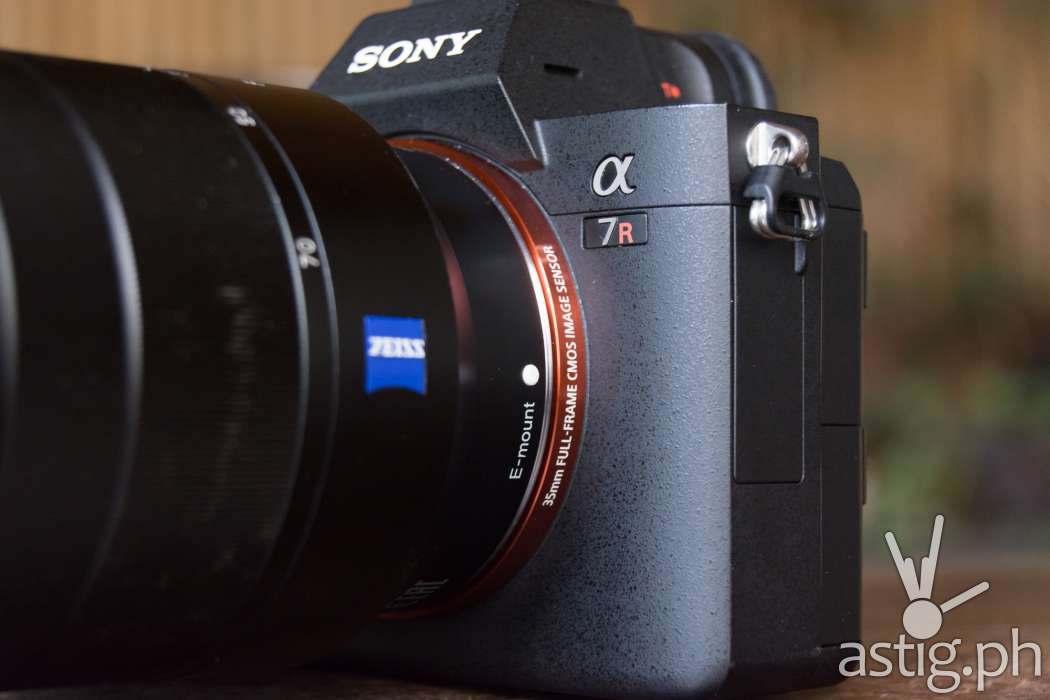
The Sony A7R III is a powerful tool made for professional photographers and videographers that require for the performance of an upper-range mirrorless camera, but not necessarily with the insane speed and refined focusing of the Sony A9.
There are so many things that this camera does right: focusing, especially Eye AF is the best we’ve seen in a full-frame mirrorless camera so far, low-light performance is notable, the selection of I/O ports especially live monitoring, dual SD card slots, clean HDMI live feed, four customizable buttons and three preset shooting modes, in-body 5-axis stabilization … wow! We can go on and on.
Surprisingly, even the battery life came out more than enough for our needs.
For videography, the Sony A7R III falls a bit short of our expectations. We would have wanted at least 4K 60 fps support and a fully articulating screen. Thankfully it does make up for it with 120 fps recording at 1080p, dedicated slow motion and timelapse modes, DRO video recording, and multiple color profiles including outstanding dynamic range in LOG-2 and LOG-3.
Quality does not come cheap, and at a retail price of 179,999 PHP, the Sony A7R III is a little steep for the Philippine market, even for professionals especially when crop-sensor alternatives are available at less than half the price.
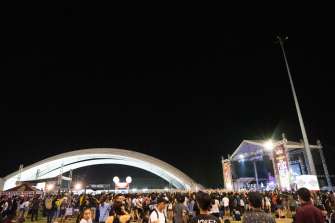
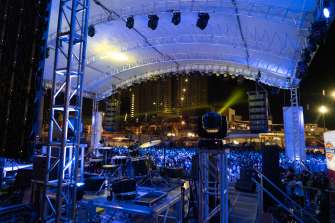
Sony α7R III (ILCE-7RM3) sample photos


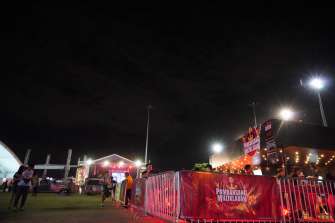


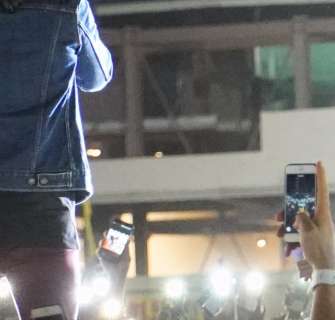
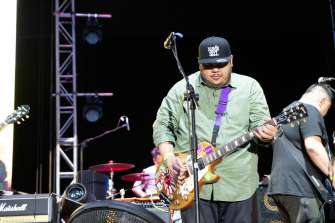

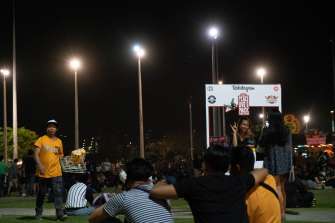
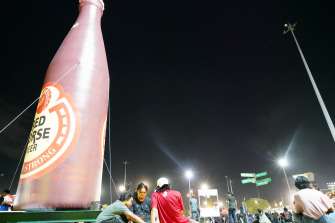
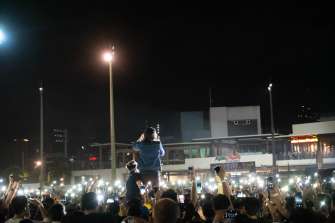

Sony α7R III (ILCE-7RM3) specs
- Dimensions: 126.9 x 95.6 x 73 mm
- Weight: 657 g
- Sensor: 35mm full frame (35.9×24.0mm) Exmor R CMOS sensor
- Megapixels: 42.4 MP (effective); 43.6 (total)
- ISO sensitivity: ISO 100-32000 expandable to ISO 50-102400 (stills); ISO 100-32000 (movies); ISO 100-12800 (auto)
- Lens compatibility: Sony E-mount
- Screen: 7.5cm (3.0-type) TFT
- Viewfinder: 1.3cm (0.5-type) electronic viewfinder (color), Quad-VGA OLED
- Flash: none
- Battery: Single NP-FZ100 2,280 mAh
- Battery life (stills): approx 530 shots (viewfinder); 650 shots (LCD monitor)
- Storage: Dual SD(UHS-I/II compliant) + Memory Stick Duo/SD(UHS-I compliant) hybrid
- Image sizes (NTSC): XAVC S 4K: 3840 x 2160 (30p, 100M), 3840 x 2160 (24p, 100M), 3840 x 2160 (30p, 60M), 3840 x 2160 (24p, 60M) XAVC S HD: 1920 x 1080 (120p, 100M), 1920 x 1080 (120p, 60M), 1920 x 1080 (60p, 50M), 1920 x 1080 (30p, 50M), 1920 x 1080 (24p, 50M), 1920 x 1080 (60p, 25M), 1920 x 1080 (30p, 16M) AVCHD: 1920 x 1080 (60i, 24M, FX), 1920 x 1080(60i, 17M, FH)
- Image sizes (PAL): XAVC S 4K: 3840 x 2160 (25p, 100M), 3840 x 2160 (25p, 60M) XAVC S HD: 1920 x 1080 (100p, 100M), 1920 x 1080 (100p, 60M), 1920 x 1080 (50p, 50M), 1920 x 1080 (25p, 50M), 1920 x 1080 (50p, 25M), 1920 x 1080 (25p, 16M) AVCHD: 1920 x 1080 (50i, 24M, FX), 1920 x 1080 (50i, 17M, FH)
- Image frame rate: 1fps,2fps,4fps,8fps,15fps,30fps,60fps,120fps (NTSC); 1fps,2fps,3fps,6fps,12fps,25fps,50fps,100fps (PAL)
- Picture profile: Yes (Off/PP1-PP10) Parameters: Black level, Gamma (Movie, Still, Cine1-4, ITU709, ITU709 [800%], S-Log2, S-Log3, HLG, HLG1-3), Black Gamma, Knee, Color Mode, Saturation, Color Phase, Color Depth, Detail, Copy, Reset
- Dynamic range functions: Off, Dynamic Range Optimizer (Auto/Level (1-5)), Auto High Dynamic Range (Auto Exposure Difference, Exposure Difference Level (1-6 EV, 1.0 EV step))
- I/O: HDMI, USB Type-C, 3.5mm stereo minijack;
- Wireless & networking: Wi-Fi 802.11 b/g/n (2.5 GHz); Bluetooth 4.1; NFC
- Mobile app support: Yes
- Price: 179,999 PHP (Philippines)


